OneDrive for Business: Set-up Next Generation Sync Client on Mac OS X
This article has not been updated recently and may contain dated material.
Set-up Next Generation Sync Client on Mac OS X:
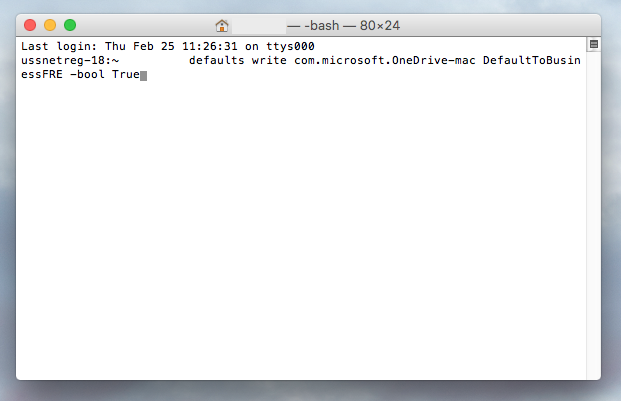
1. Open the Terminal window on your machine.
2. In the Terminal, type:
defaults write com.microsoft.OneDrive-mac DefaultToBusinessFRE -bool True
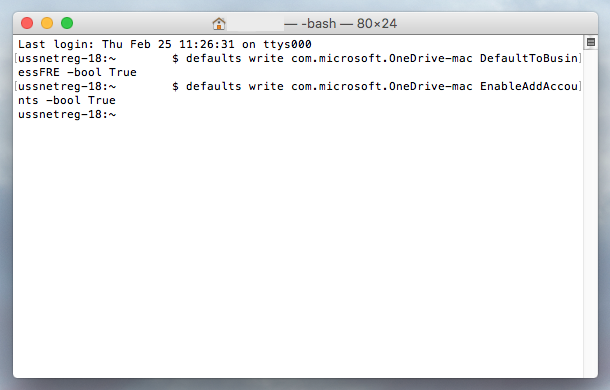
3. In that same terminal, type:
defaults write com.microsoft.OneDrive-mac EnableAddAccounts -bool True
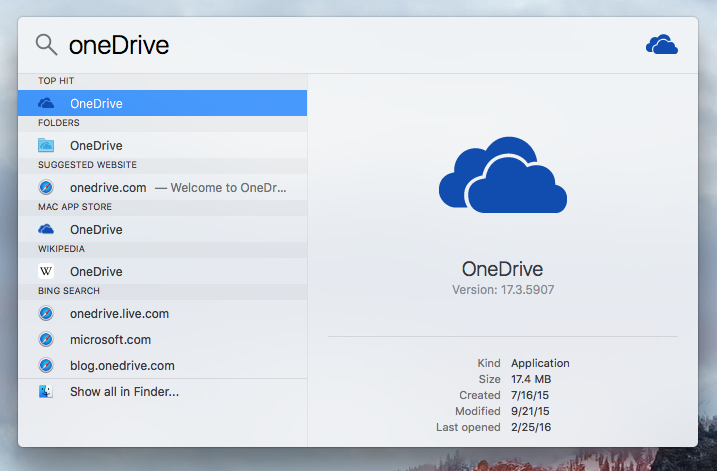
4. Next, open OneDrive by hitting cmd+Space and typing in "OneDrive".
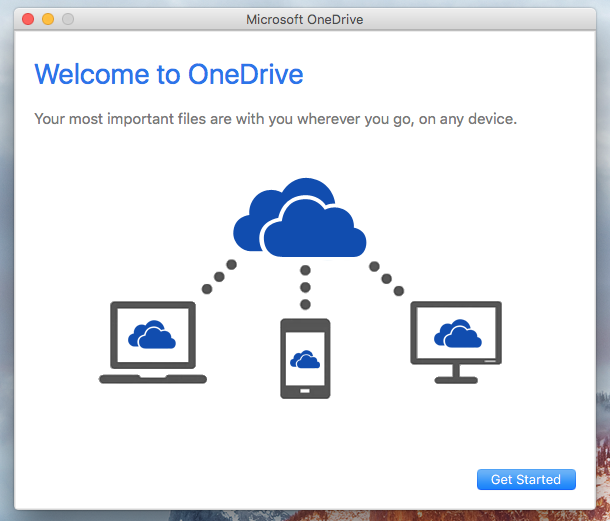
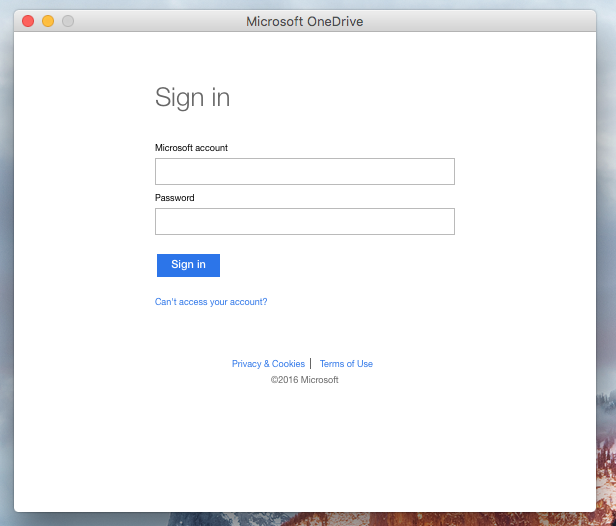
5. With OneDrive open, select "Get Started" in the bottom right-hand corner to set up your OneDrive account.
6. Sign with your Microsoft account. If you do not have one, you will need to create one. (To create a Microsoft account)
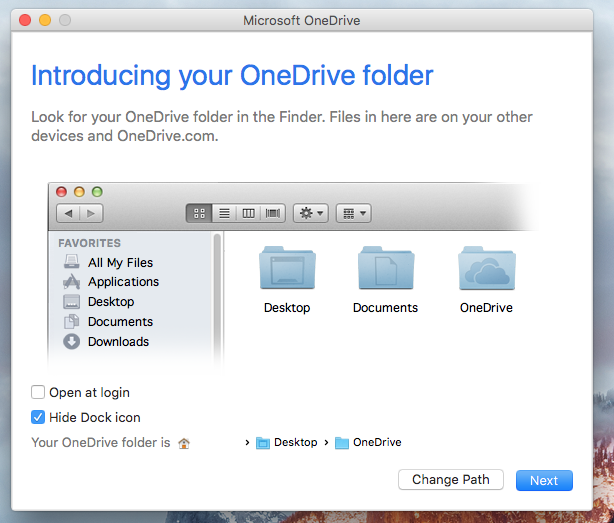
7. Then choose the location where your OneDrive folder will be located.

8. At the bottom of the pop-up window, the location you chose will be displayed. Click Next at the bottom of the screen to continue.
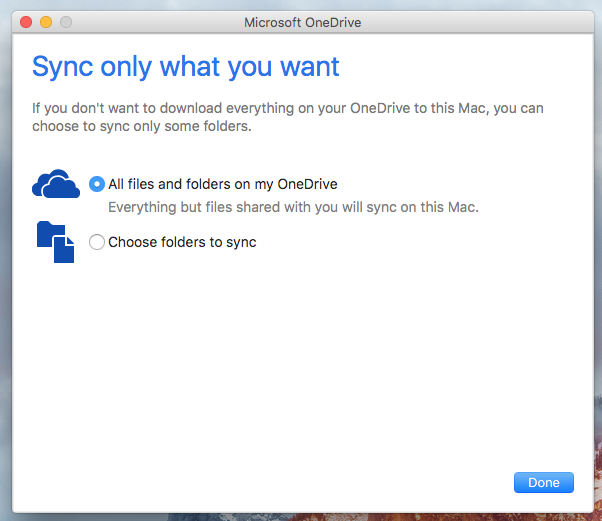
9. You can now Sync your files. Select Done when finished.
Referenced from: Microsoft
18083
9/17/2025 3:08:13 PM