Outlook 2016 (Windows): Assign Delegate and Edit Permissions
Microsoft Office 2016 allows users to assign Delegates which allows another person access to certain content on the user's account and allows them to act on their behalf such as creating appointments or meetings in the calendar. Users may restrict a delegate's permissions according to their supplementary needs. These permissions may be edited at any time.
To Assign a Delegate:
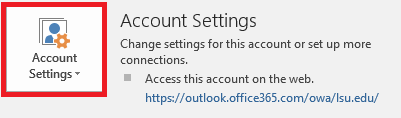
1. Select File at the top left of the window.

2. Click on the Account Settings button, then click Delegate Access from the drop-down menu.
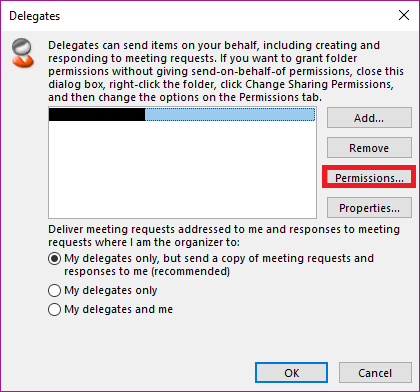
3. In the pop-up window that appears, click Add... and then select the names of the people you wish to identify as delegates, clicking Add -> after each selection. Once all selections have been made, click OK.
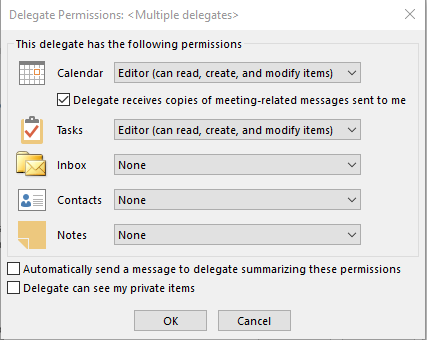
4. In the delegate permissions window that appears, set the delegate's permissions for each category and check any permissions as needed:
- None - gives the delegate no access to this content.
- Reviewer - allows the delegate to only read the content.
- Author - allows the delegate to read and create content.
- Editor - allows the delegate to read, create, and modify content.
Then select OK.
5. Select OK in the next menu to finish.
Note: To edit a delegate's permissions, return to the Delegate Access setting Account Settings (step 2), select the name of the delegate you wish to edit permissions for, and click Permissions... The window in step 4 will appear, and the delegate permissions can be edited.
Referenced from: support.office.com
19802
8/27/2025 8:31:17 AM